How to Clean Metal Detecting Finds Without Ruining Them
Most damaged finds are damaged by their finder, not the soil. What is safe to clean, what to leave alone, and the methods that quietly destroy value.
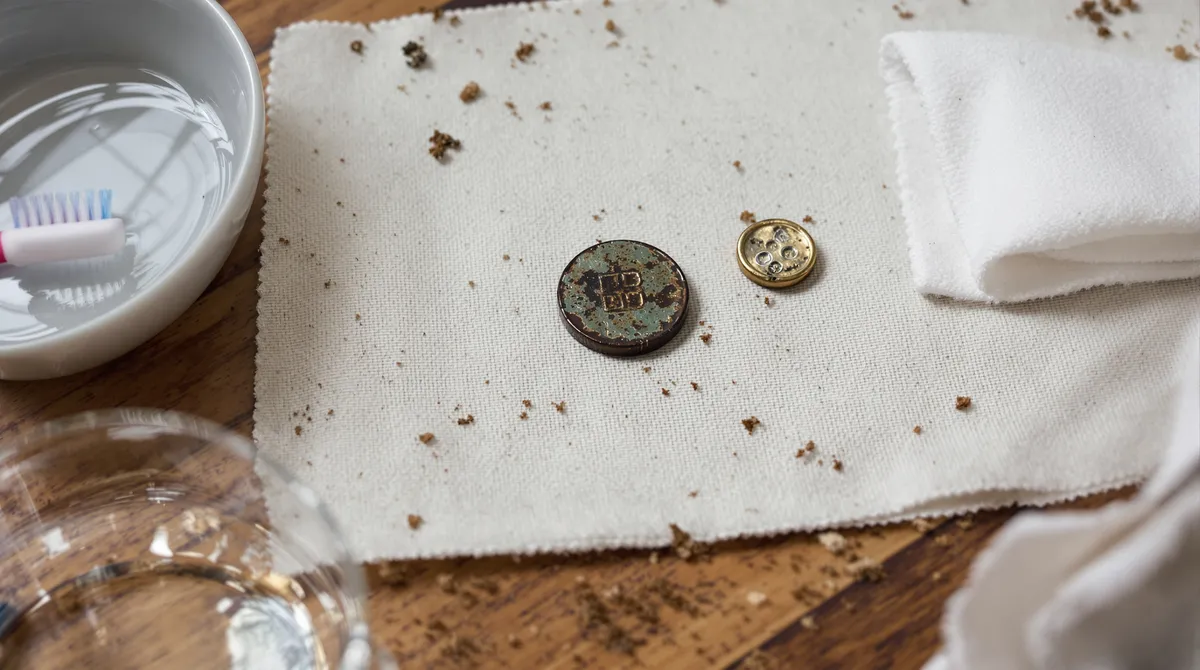
There is a moment every detectorist knows. You have dug something old, something with weight and shape to it, and the urge to scrub it clean and see it is almost physical.
Resist it for one more day. More good finds are destroyed at the kitchen sink than in a thousand years underground.
This is the part of the hobby nobody warns beginners about. The soil spent centuries reaching a chemical truce with your find. You can undo that in about ninety seconds with a wire brush and good intentions.
The one rule that matters
Cleaning is irreversible. Not cleaning is not.
Every decision you make about a find is reversible except this one. You can always clean it tomorrow, next month, or after an expert has looked at it. You can never un-clean it.
So the default order is: rinse off loose soil, photograph it, identify it, then decide. That sequence almost never fails. The reverse — clean it, then find out what it was — is how people discover they have just taken a wire wheel to something genuinely rare.
Before anything touches your find, get the photographs done. An in-situ shot in the hole, then a clean shot on a plain background. Our guide to documenting finds properly covers the shots worth taking and why the field photo is the one you can never recreate.
Why over-cleaning destroys value
On an old coin, the dark surface layer is not dirt. It is patina — a stable oxide layer that formed over decades or centuries, and it is doing three jobs at once.
It is protecting the metal underneath. It is proving the coin is genuine and genuinely old. And it is holding the detail, because on a worn coin the design is often only legible as a tonal difference between raised and recessed surfaces.
Strip the patina and you get a coin that is bright, uniform, obviously interfered with, and frequently harder to identify than it was when it was filthy. Collectors call these “cleaned” coins and price them accordingly — often at a fraction of an untouched example. A coin that is desirable with an honest dark surface can become a near-worthless curiosity once it has been scrubbed.
The cruel part is that the damage often does not show up straight away. Acid-cleaned copper looks pink and promising on day one, then goes blotchy and unnatural over the following weeks as the freshly exposed metal starts oxidising unevenly.
Triage by metal
What is safe depends almost entirely on what the object is made of. Work out the metal first, then pick your approach.
Gold — clean freely
Gold does not corrode. It comes out of the ground looking essentially as it went in, and anything on the surface is just soil.
Warm water, a drop of dish soap, a soft toothbrush. That is the whole method. Rinse and pat dry.
The only caution is stones. Ultrasonic cleaners and vigorous brushing can loosen settings and damage softer gemstones — opal, pearl, emerald, and turquoise are all vulnerable. If there are stones in it, go gentle and skip the ultrasonic.
Silver — gentle, and think first
Silver tarnishes rather than corrodes, and hammered or milled silver coins often clean up beautifully with nothing more than warm water and careful fingertip work.
But do not use silver dip or polish on a collectable coin. Those products strip the toning that collectors specifically want. A naturally toned silver coin is more desirable than a bright one, and dip is a one-way trip.
Warm soapy water, fingers, and patience. If more is needed, it is a job for someone who knows the series.
Copper, bronze, and brass — the danger zone
This is where finds die. Copper alloys form exactly the kind of patina that is both valuable and easy to destroy, and they are also the most common material for interesting old finds — coins, buckles, buttons, tokens.
Leave them alone. Rinse under water, dry thoroughly, and stop. No acid, no polish, no abrasives, no electrolysis.
If a copper find is important enough to want cleaned, it is important enough to be cleaned by a conservator rather than by you.
There is one exception worth knowing: bronze disease, a bright powdery pale-green corrosion that spreads and eventually eats the object. Unlike stable patina it is active, and it is the one case where doing nothing is the wrong call. If you see powdery light-green growth rather than a smooth dark surface, isolate that find from your others and get advice quickly.
Iron and relics — specialist territory
Iron finds are usually a shell of corrosion around a shrinking core of metal. Aggressive cleaning tends to reveal that there is not much left inside.
Dry-brush loose material, store it somewhere genuinely dry, and research before going further. Electrolysis has a real place in iron conservation, but it is a considered technique for chunky iron objects — not a default setting for everything you dig.
Clad and modern coins — do whatever you like
Modern circulating coins have no collector value beyond face value. Soap, water, a brush, a tumbler if you want. Clean them, spend them, and enjoy the fact that at least one category of find carries no anxiety.
Methods that quietly wreck finds
These come up constantly in forums and videos, and they are the leading cause of ruined finds:
| Method | What it actually does |
|---|---|
| Vinegar, lemon juice, cola | Dilute acid. Strips patina, etches and pits the surface, kills collector value. |
| Silver dip or metal polish | Removes toning and a microscopic layer of metal. Leaves a permanent unnatural brightness. |
| Wire wheel or wire brush | Cuts visible scratch tracks into soft metals. Instantly and obviously destructive. |
| Rock tumbler | Fine for clad. Rounds off detail and edges on anything old. |
| Electrolysis on coins | Can strip patina and pull metal from already-weak surfaces. Reserve for robust iron. |
| Scraping with a knife or pin | Leaves permanent gouges, usually across the exact detail you were trying to reveal. |
The common thread is that all of them are fast. Anything that promises to make a find look dramatically better in under a minute is doing something you cannot undo.
The safe universal method
When you genuinely do not know what a find is, this sequence will not damage it:
- Dry first. Let the soil dry, then brush it off with a soft toothbrush or a wooden skewer. Dried soil often falls away cleanly, and dry work is far gentler than wet.
- Rinse in clean water. Plain water, no additives. Distilled if you are somewhere with hard or heavily chlorinated tap water.
- Soak if needed. A stubborn soil crust can sit in distilled water for a few days. Change the water daily. This is slow, boring, and completely non-destructive.
- Pat dry, then air dry fully. Trapped moisture causes more damage than the soil did.
- Stop. Photograph, identify, and only then consider whether anything more is warranted.
Step five is the one people skip.
Storing finds so they survive
Cleaning is only half of preservation. A find that survived 300 years in the ground can degrade in a year in a damp shed.
Keep finds dry above all — humidity drives corrosion, and a cheap silica gel sachet in a sealed box does real work. Store items individually so harder objects are not abrading softer ones, and so anything developing bronze disease cannot spread it to its neighbours. Avoid PVC pouches and sleeves, which off-gas and damage metal over time; use acid-free paper, inert plastic, or plain cardboard trays.
And handle finds by the edges. Skin oils and salts are mildly corrosive, which matters on a coin you intend to keep for decades.
Record what you did
Here is the part that connects cleaning back to the rest of your detecting practice: whatever you do to a find becomes part of its history, so it belongs in the record.
If you soaked something for a week, note it. If you decided to leave a copper token completely untouched, note that too — including the reasoning. Later, when you are comparing two similar finds from the same site, showing something to a specialist, or trying to remember whether that green patch was there when you dug it, the note is what saves you.
This is the same logic that makes a detecting logbook valuable in the first place. The find is the object; the record is what makes it meaningful. Photograph before, photograph after, write down what happened in between. In DetectingLog every find keeps its type, metal, VDI and depth, and the hunt it came from carries your photos and notes — so what you dug and what you did to it stay in one place rather than scattered across your camera roll.
Once you have identified something, go back and update the entry — and if you are still working out what you have dug, our guide to identifying an old coin walks through it step by step.
When to stop and ask
Get a second opinion before cleaning if the find is precious metal, has legible lettering or a date, appears to be hammered or hand-struck, is noticeably thin or fragile, or is simply something you cannot identify.
Local detecting clubs, museum finds officers, and — in England and Wales — the Portable Antiquities Scheme all exist partly to answer this question, and they would rather see a dirty find than a cleaned one — see our guide to recording finds with the PAS for how that process actually works. In many places certain finds are legally reportable regardless of condition, which is worth knowing before you start scrubbing. Our legal checklist covers how to work out what applies where you detect, and if you are just starting out, the beginner’s guide sets up the habits that make all of this easier.
The instinct to clean is really the instinct to know — to see what you have found. Photography and research satisfy that instinct completely, and unlike a wire brush, they leave you the option of changing your mind.
Frequently asked questions
Should I clean my metal detecting finds?
Rinse off loose soil and stop there until you know what you have. Modern clad coins can be cleaned freely, but anything old, copper, bronze, or unidentified should be left alone. Cleaning is irreversible, and on old coins and relics it usually destroys more value than it reveals.
Does vinegar ruin old coins?
Yes, on anything worth keeping. Vinegar, lemon juice, and cola are dilute acids that strip patina and etch the metal surface, leaving a pitted, unnaturally bright coin. They can wipe out most of a coin's collector value in minutes. They are fine on modern clad you intend to spend, and nothing else.
How do I clean a gold ring I found detecting?
Warm water, a drop of dish soap, and a soft toothbrush. Gold does not corrode, so anything on the surface is just dirt and it comes off easily. Avoid abrasives, and skip ultrasonic cleaners if the ring has stones, since they can loosen settings and damage softer gemstones.
Keep reading
Recording Finds with the Portable Antiquities Scheme
What the PAS is, why recording your finds is worth doing even though it is voluntary, what a Finds Liaison Officer needs from you, and how the process works.
How to Identify an Old Coin You Have Just Dug
A repeatable method for identifying dug coins — measure, read the metal, decode the inscription, and search properly. Plus where to get expert help free.
Miner's Right Victoria: Cost, How to Get One and the Rules
A Victorian Miner's Right costs $29.40 for 10 years, rising to $41.40 on 1 January 2027. How to buy one, what it lets you do, and the rules attached.